August 02, 2022
Troubleshooting GM 8L45, 8L90 No Move & No Pressure Conditions
Jim Mobley
By now you may have heard of, or even experienced, a GM 8L45 or 8L90 transmission with a no move or no pressure condition. That is precisely what our discussion is about: conditions of no movement or no pressure after repair that have plagued this unit since its inception.
Condition 1: No Movement After Fast Learn or Programming
If a no movement condition is experienced after fast learn or J2534 programming procedure is performed, remove key from ignition, get out of vehicle, shut doors and return 15 minutes later. Problem will usually be remedied and back to normal.
Condition 2: Pump Prime Failure
The 8L45, 8L90 “off-axis” chain-driven pump assembly is presented by GM as a state-of-the-art, highly efficient pump with great self-priming capabilities. Contrary to that, we continue to receive reports in the field with no movement and no line pressure when units are installed. There is a quick and easy solution for this: a simple pump prime process while the unit is still on the bench.
Bench Prime Procedure: With valve body top facing down in a medium-size, clean drain pan, place manual valve in Park (first land flush with casting), insert funnel into suction of pump, fill with ATF, then rotate pump shaft clockwise with ½" chuck electric drill to prime pump.
Condition 3: Pressure Regulator Valve Assembly Error
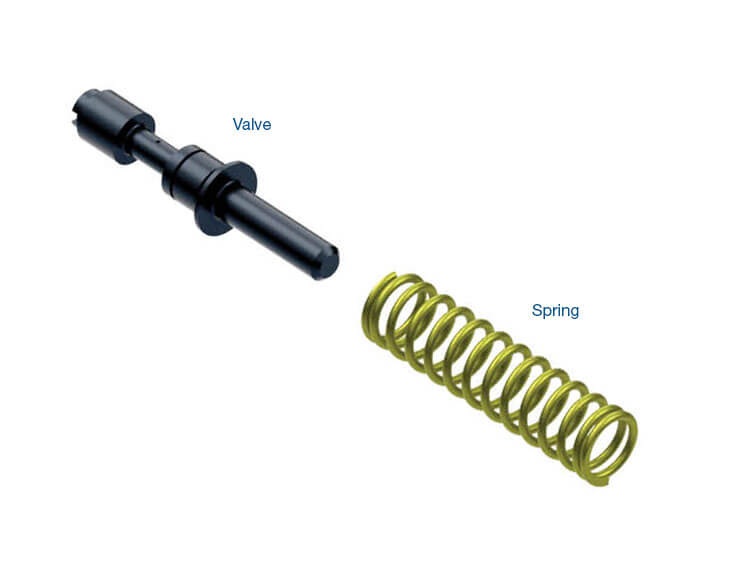
Either no, low or high line pressure may be caused by an incorrect assembly of the pressure regulator valve. The inner shuttle boost valve and bushing must be installed facing inboard for boost, but occasionally it will mistakenly be installed outboard, which results in a low or no pressure condition. The main regulator valve and spring must also be installed correctly as shown here (Figure 1).
| Figure 1 – Pressure Regulator Valve Correct Assembly |
|---|
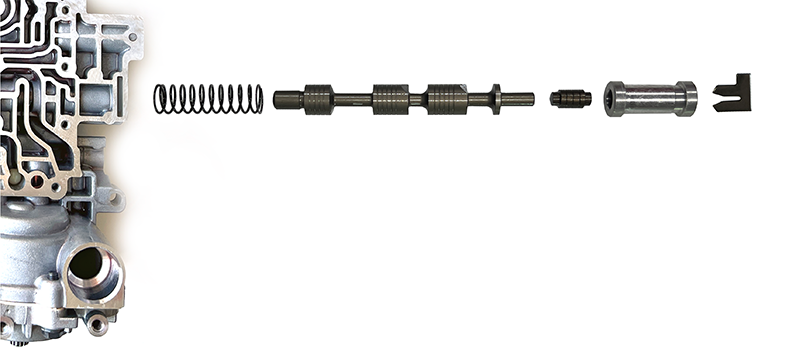 |
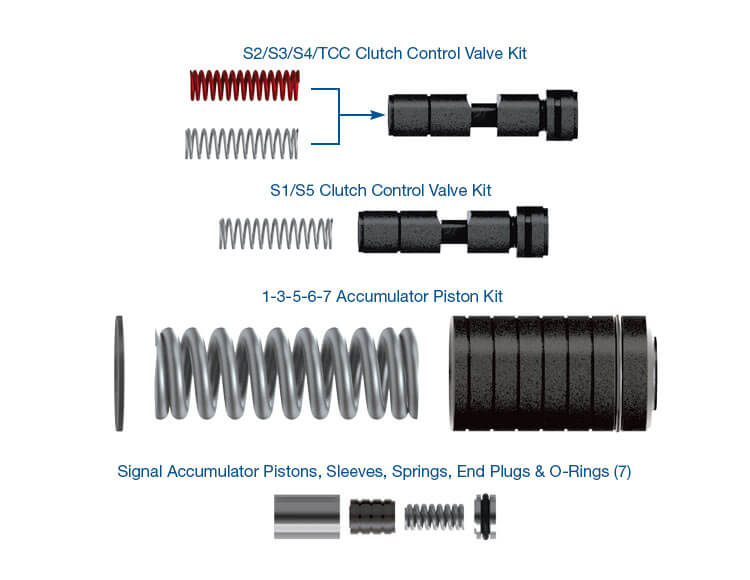
Sonnax offers drop-in pressure regulator and shuttle valve kit 154740-02K for the OE lineup in instances of worn valves/sleeve/casting.
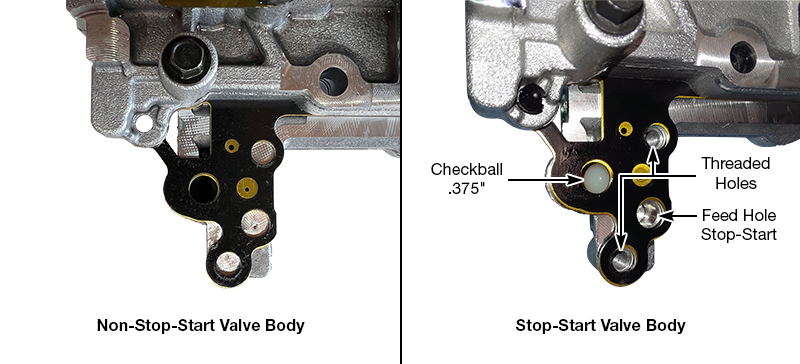
Condition 4: Wrong Valve Body
If replacing an 8L45 or 8L90 valve body, make certain to not install a stop-start valve body on a non-stop-start transmission/vehicle. This creates a leak in rear section of valve body area at the location of where the stop-start accumulator would normally be attached to rear of valve body (Figure 2).
| Figure 2 – Stop-Start Valve Body Identification |
|---|
 |
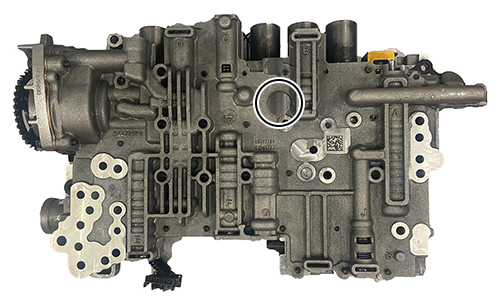
Condition 5: No Line Pressure
New OE valve bodies have what some GM techs call a test port. It is a plug bolted in a hole of the new OE valve body casting that is different than the original valve body (Figure 3). If this plug is removed, it leaves a huge leak dumping line pressure.
| Figure 3 – Test Plug Location on New OE Valve Bodies |
|---|
 |
Condition 6: 1-2-7-8-R Case Seal Not Installed
There are tech bulletins for using correct seal in 8L45 versus 8L90, but some are leaving this 1-2-7-8-R seal out altogether. Pay attention: do not forget to install this seal in case underneath the valve body 8L45 seal.
There are, of course, several other reasons that GM 8L45 and 8L90 units will not move and have no pressure, but the above examples cover the common conditions we run into regularly. If unit has basic function, failsafe/default gears are 2nd and Reverse. Concentrate closely on this unit, as it has a lot of parts.
Jim Mobley is a Sonnax technical communications specialist. He is a member of the Sonnax TASC Force (Technical Automotive Specialties Committee), a group of recognized industry technical specialists, transmission rebuilders and Sonnax Transmission Company technicians.
Learn More
Related Units
Related Parts
Required
Recommended

8L45 • 8L90
Oversized Signal Accumulator Piston Kit 154740-01K
-
Helps cure:
- Poor shift quality
- Low line pressure
- No converter apply
- Hydraulic-related converter codes
- Burnt clutches
- Soft shifts


Required
Recommended
8L45 • 8L90
Oversized Converter Feed Limit Valve Kit 154740-22K
-
Helps cure:
- Excess converter pressure
- High TCC slip RPM
- Code P0218
- Code P0741
- Overheated converter
- Inadequate lubrication

While Sonnax makes every effort to ensure the accuracy of technical articles at time of publication, we assume no liability for inaccuracies or for information which may become outdated or obsolete over time.