November 11, 2021
How to Easily Check Endplays in Chrysler RFE Transmissions
Randall Schroeder
Tech support hotlines have been burning up for years with phone calls concerning rapid gear train failure in GM TH400 transmissions after routine rebuild or repair. It’s time to address the issues that cause this and reverse widespread confusion surrounding gear train setup on this and similar units. Today we will clear up the mystery in setting proper endplay for this transmission. If tolerances are not correctly set, costly comebacks can result. Understanding these basic checks on the TH400 will give you background knowledge in setting build procedures that will be used with similar gear sets, such as 4L80-E.
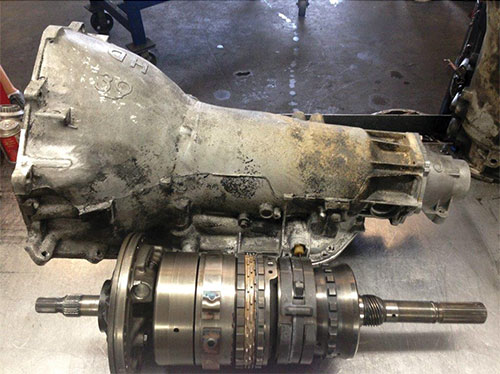
The TH400 (Figure 1) has four endplay tolerances (NOT to be confused with clutch clearances) that should be examined and corrected during repair. However, GM’s published rebuild procedure only references two of them! With two endplay tolerances being ignored, you can imagine why these meltdowns are occurring.
| Figure 1 |
|---|
 |
The following four areas should be checked and corrected; the last two are not referenced in OEM material.
Let’s look at these more closely.
The selective washer at the bottom of the case has tabs to lock into and secure against the rear of the case; these tabs also identify washer thickness.
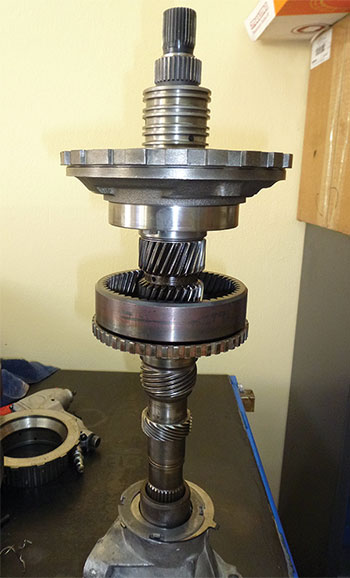
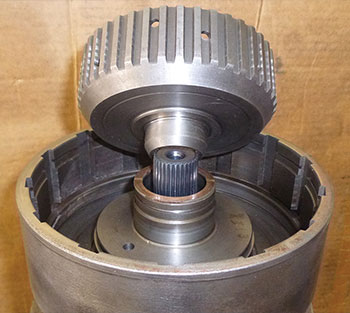
Checking rear play is easier to manage if the planetary assemblies are left off (Figure 2).
| Figure 2 |
|---|
 |
The rear gear train must be installed into the case and secured with a snap ring on the center support. Mount a dial indicator at the rear of the case to measure the movement of the output shaft, ensuring it moves freely in and out. With the shaft pushed against the washers, zero the dial indicator and move the assembly in the opposite direction to get your measurement (Figure 3).
| Figure 3 |
|---|
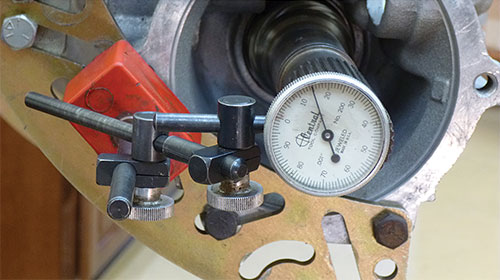 |
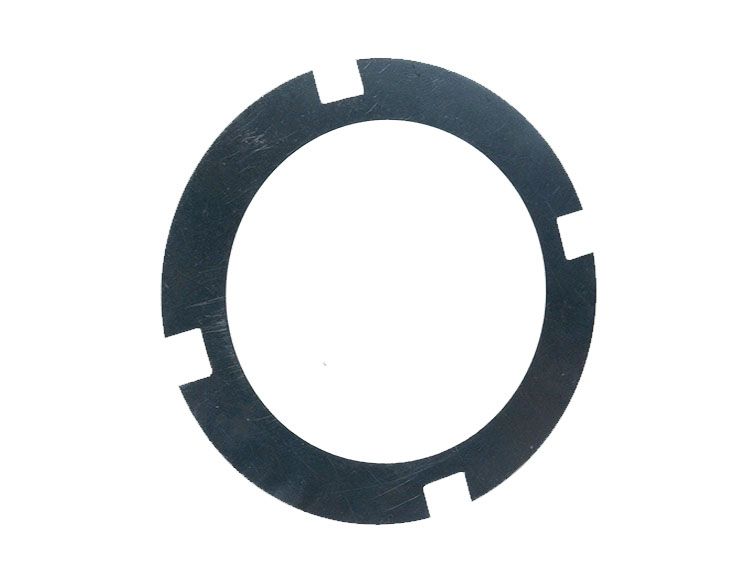
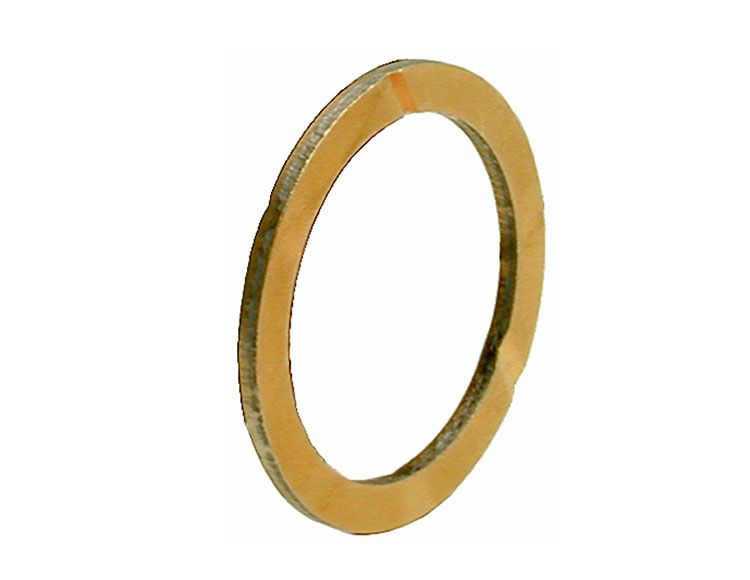
Rear endplay needs to be .007" to .019". If out of specification, the selective washer must be replaced with an appropriate washer (Figure 4).
Figure 4:Rear Unit Selective Washers | ||
|---|---|---|
| Washer Thickness | I.D. Notches | I.D. Numeral |
| .074 - .078" | None | 1 |
| .082 - .086" | Side 1 Tab | 2 |
| .090 - .094" | Side 2 Tabs | 3 |
| .098 - .102" | End 1 Tab | 4 |
| .106 - .110" | End 2 Tabs | 5 |
| .114 - .118" | End 3 Tabs | 6 |
It is vital to check the three needle bearing sets and their seats in the rear gear assembly, as wear here will affect clearances. If worn excessively, needle bearing sets are available in the aftermarket.
During rear gear train assembly, ensure the sun gear shaft and sun gear are both assembled properly; if installed incorrectly, it will affect direct clutch drum settings. Proper assembly will leave the long splined end of the shaft mated to the flat side of the sun gear, not the beveled side (Figures 5 & 6). If there are no alignment splines machined into the gear and shaft, ensure the lube hole in the shaft lines up with those on the gear.
| Figure 5 | Figure 6 |
|---|---|
 |  |
Assemble the rear gear sets as you would to install them in the case, including the center support. Use a suitable holding fixture to secure the assembled gear set upright (a vice works well). It is virtually impossible to get a dial indicator set up here, so we are going by “experienced feel” in this case. Lift up and down on the top planetary to center support (Figure 7). If excessive play is discovered, this clearance can be adjusted by using a selective four-tab washer between the gear sets. Set this up between about .008" and .015", with .010" being the sweet spot.
| Figure 7 |
|---|
 |
| Figure 8 |
|---|
 |
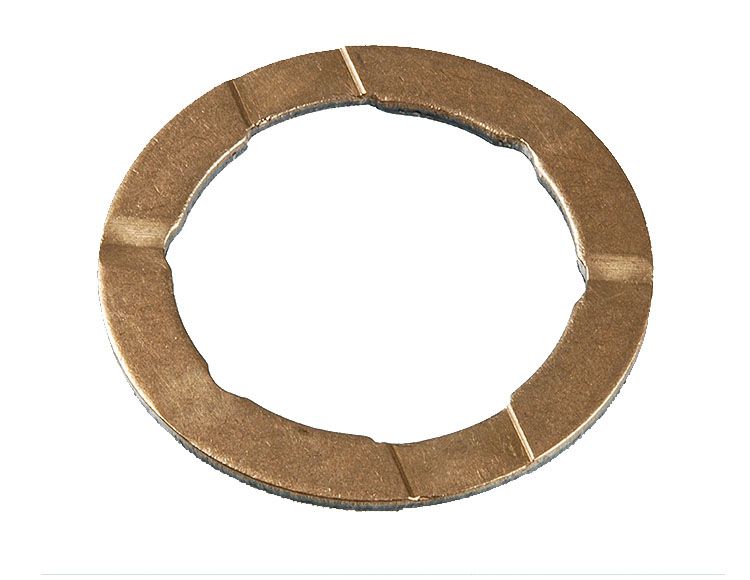
Install the washer that sits between the hub and the drum, then set hub on the support shaft and hold it tight. Lift up on the drum to check for clearance between these two rotating pieces; we’re looking for .008" to .015" here. If no clearance is found, use a thinner washer. If excessive clearance is found, use a thicker washer, available in the aftermarket.
With the back of the case assembled up to the intermediate clutches (secured with snap ring), set the Forward hub in position. Install the washer that goes between the top of this hub and the Forward clutch drum. Rest the Forward drum (empty) on top of the hub. Place the pump gasket in the case so we don’t overlook its thickness. Leave the rubber seal ring off the outer side of the pump and set the pump in place (secure with one bolt, finger-tight). Use your dial indicator to measure the up and down movement of the input shaft (Figure 9).
| Figure 9 |
|---|
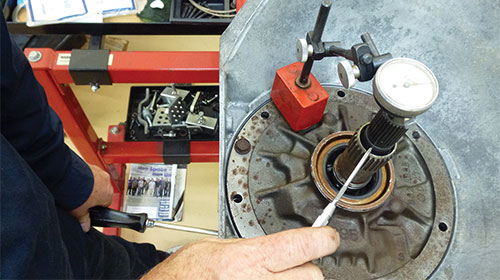 |
Figure 10:Front Unit Thrust Washers | ||
|---|---|---|
| Washer Thickness | I.D. Number | Color Code* |
| .060 - .064" | 0 | Yellow |
| .071 - .075" | 1 | Blue |
| .082 - .086" | 2 | Red |
| .093 - .097" | 3 | Brown |
| .104 - .108" | 4 | Green |
| .115 - .119" | 5 | Black |
| .126 - .130" | 6 | Purple |
| *Oil soaked washers may discolor. Measure actual thickness. | ||
Set-up is as easy as one, two, three and four:
1. Rear Endplay: .007" to .019"
There is an old saying: “I don’t have time to play.” But investing a few minutes for “playtime” is vital to protect against comebacks, to ensure maximum longevity for your rebuild, and to provide ultimate satisfaction for your customers.
November 11, 2021
Randall Schroeder
Required
Recommended

Required
Recommended
Required
Recommended
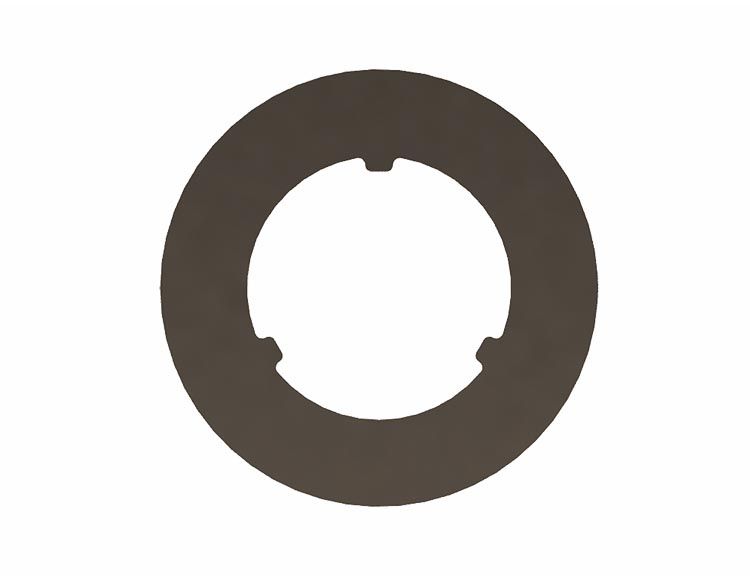
Updated 3-tang style shim fits all units, including '97-later 4L80-E and 4L85-E units.
While Sonnax makes every effort to ensure the accuracy of technical articles at time of publication, we assume no liability for inaccuracies or for information which may become outdated or obsolete over time.