August 18, 2017
Tips for Proper Reamer Care
Proper maintenance of Sonnax reamers is the best way to ensure their consistent performance and long life. Follow these easy steps or watch the demo video.

1. Check for Build-Up After Each Use

Aluminum build-up can occur along reamer cutting edges every time a bore is reamed. Debris may not always be present in large amounts and may be very hard to see, but over time it will accumulate. Too much will make it difficult or impossible for the tool to cut correctly.
Use an eye loupe to examine the edges in detail or feel for build-up along the edges with a penny (Figure 1).
| Figure 1 |
|---|
 |
2. Remove Build-up
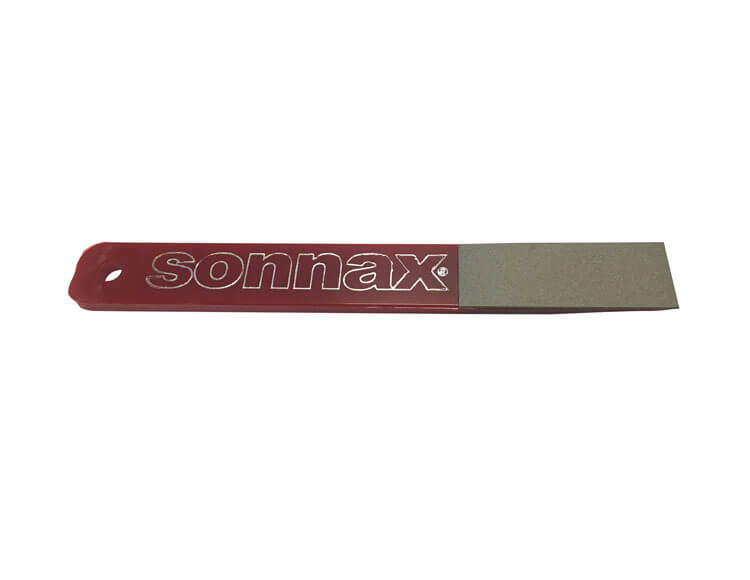
If you identify or suspect build-up, extend the life of your reamer by cleaning it off with a fine-grit diamond honing tool such as the Sonnax EZ-LAP-HONE. CAUTION: This technique is for removing build-up only, NOT for re-sharpening. Over-aggressiveness with the hone will ruin the reamer.
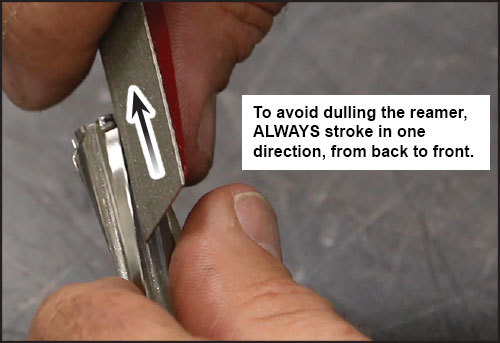
1. Place the tool along one cutting edge of the reamer and draw it forward smoothly three to four times (Figure 2).
| Figure 2 |
|---|
 |
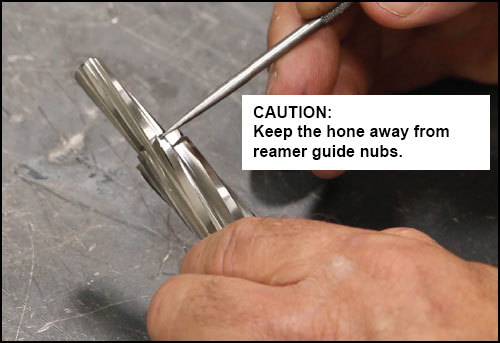
2. Inspect the edge. If it’s clean, keep going around the reamer, cleaning each cutting edge until all build-up is removed. Multi-diameter reamers can be cleaned the same way, just be sure to stay away from the guide nub (Figure 3). That is not a cutting edge.
| Figure 3 |
|---|
 |
3. Clean & Store Reamer
1. When you’re done with the hone, clean the abrasive off the reamer in a solvent tank or with low-speed compressed air.
2. Lightly oil the reamer to prevent corrosion. The same oil you use for reaming is recommended.
3. Return the reamer to its protective case, otherwise it can roll around, get nicked and dull, etc.
Learn More
September 27, 2017
Sonnax Roadshow Part III: Valve Body Reaming
Randall Schroeder
Related Parts
Required
Recommended
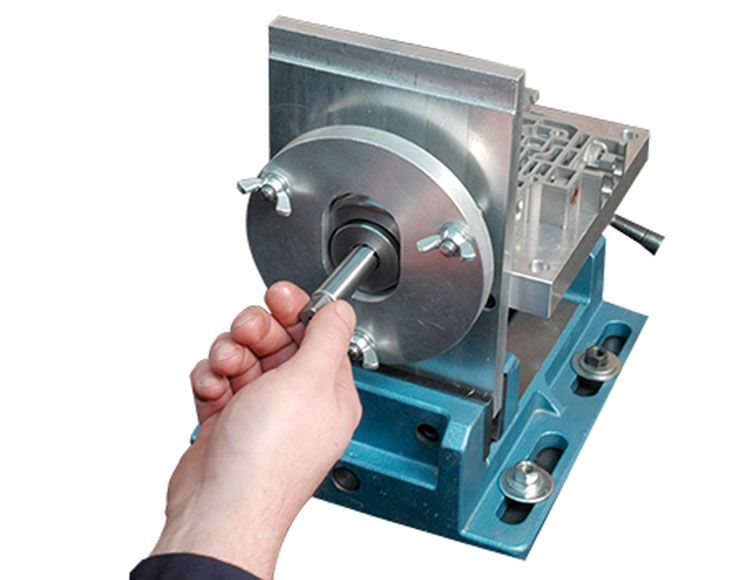
Valve Body Reaming Fixture VB-FIX
-
Helps cure:
- Some worn valve & pump bodies cannot be salvaged
While Sonnax makes every effort to ensure the accuracy of technical articles at time of publication, we assume no liability for inaccuracies or for information which may become outdated or obsolete over time.