Chasing Bearing Noise in Jatco CVT Units
Jim Dial
Bearing noises can be difficult to track down even in familiar transmissions which we work on daily. The advantage of the familiar is that we know how to take these units apart and have a general idea of power flow and overall operation. Plus, we typically have plenty of extra pieces on the shelf should we need them. Bearing noises in the CVT transmission are much harder to deal with, because it’s not as familiar as the units rolling in the door on a daily basis and spare CVT pieces are pretty much non-existent. This has created some minor paranoia when it comes to taking on a CVT repair. Hopefully this article will dispel a bit of the apprehension regarding these units and prove that - with the right tools and a little know-how - CVTs can be repaired and become decent money makers for a shop.
For this article we'll reference the JF011E, but all Jatco models are similar when it comes to bearings. The most common abnormal bearing noise concern with these units is related to a rotational whining noise in Forward or Reverse. The noise gets worse as vehicle speed increases — sometimes it may even sound like a differential noise. A pan examination will reveal a magnet with a good amount of steel hair on it, which means there is something “making metal.” This happens when the pulley bearing races become pitted, causing metal flaking. To address the problem, the bearings must be replaced, and that requires unit removal.
Once the transmission is out of the vehicle, remove the valve body so that the ratio control motor and arm can be disconnected from the ratio control motor follower. Next, detach the rear cover and pulley assembly from the case. Once the rear cover is removed, take out the bearing retaining bolts (Figure 1) so the pulley assemblies and belt can be removed from the cover. Wrap two nylon zip-ties around the belt (Figure 2) BEFORE removal to prevent it from falling apart (not a good situation!).
| Figure 1 | Figure 2 |
|---|---|
 |  |
Figure 3 shows a close-up of something to be aware of: the arrow on the belt that shows the correct rotation direction. You’ll need this for reference when the belt is reinstalled into the pulley assemblies, because putting the belt on backwards will damage it and the assemblies.
| Figure 3 |
|---|
 |
The next step is to open up the secondary pulley so it can be removed…but first you need to have the right tools on hand. The secondary pulley has a large spring inside that must be compressed before the pulley can be opened. The toolkit for accomplishing this and related parts to complete the process are well worth it and available in the aftermarket. They work as follows:
1. A split-ring is bolted around the bell-shaped area of the secondary pulley, and two arms are connected to the split-ring retaining bolts.
2. The upper puller assembly and threaded bolt are attached to the top of the arms with two bolts and nuts (Figure 4).
| Figure 4 |
|---|
 |
3. Once the split-ring and upper part of the puller is set in place, tightening the center bolt will relieve spring tension and allow opening of the secondary pulley (Figure 5).
| Figure 5 |
|---|
 |
4. Lift the puller assembly and the secondary pulley out of the cover, then place it inside the primary pulley opening (you may want to put a rag over the primary pulley face to prevent scratching).
| Figure 6 | Figure 7 |
|---|---|
 |  |
5. Now, lift the belt over the primary pulley and remove from the cover (Figures 6 and 7). Some units have shims between the rear cover and bearing (Figure 8) which need to be saved for the use during reassembly.
| Figure 8 |
|---|
 |
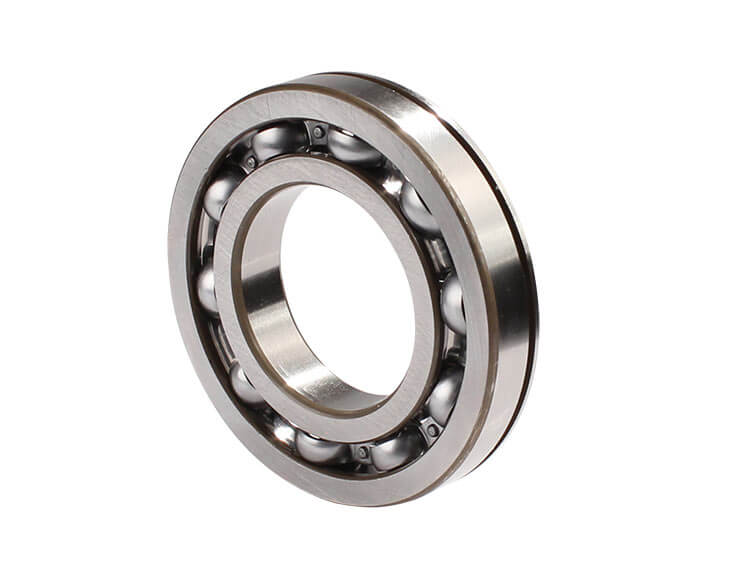
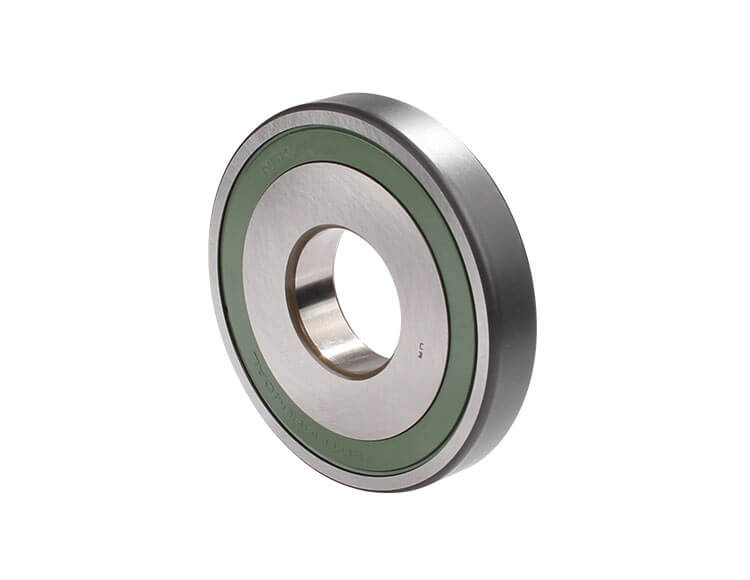
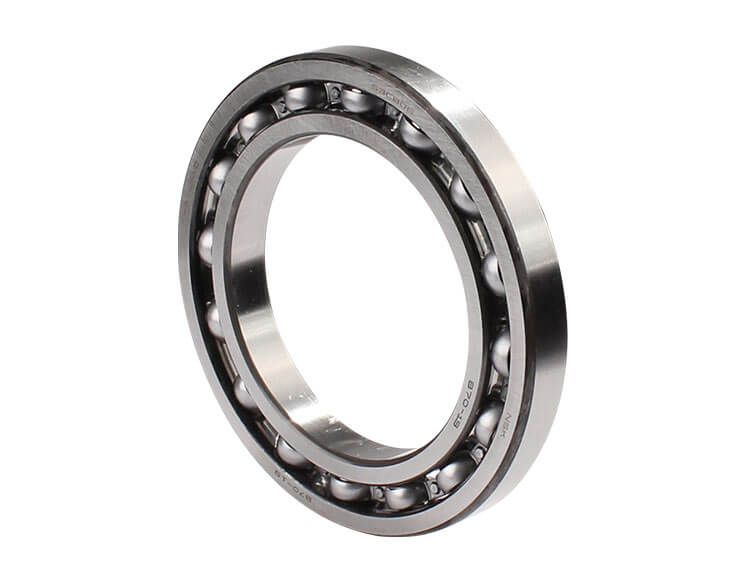
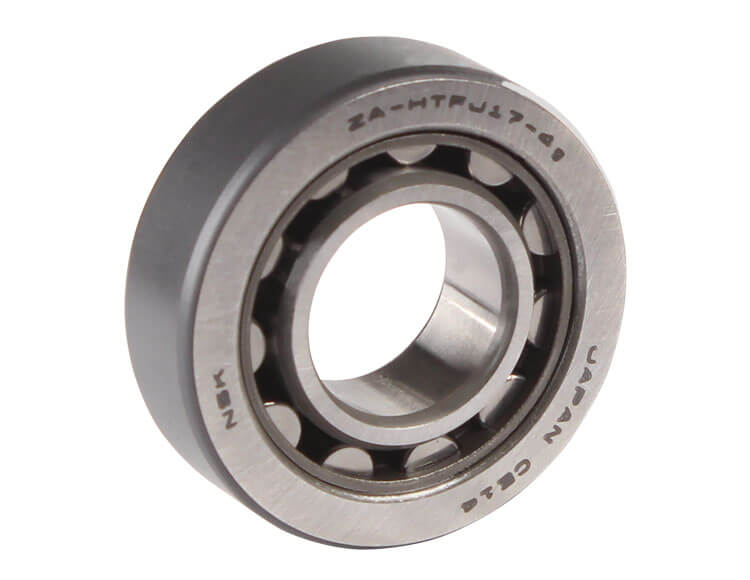
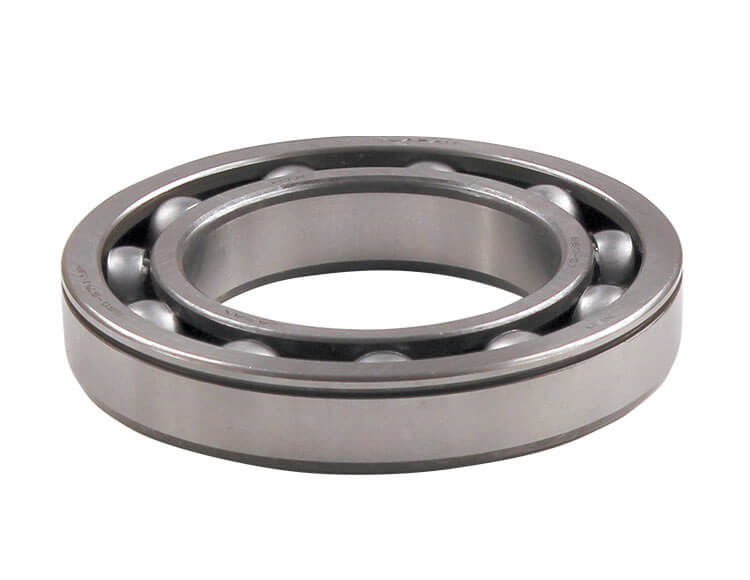
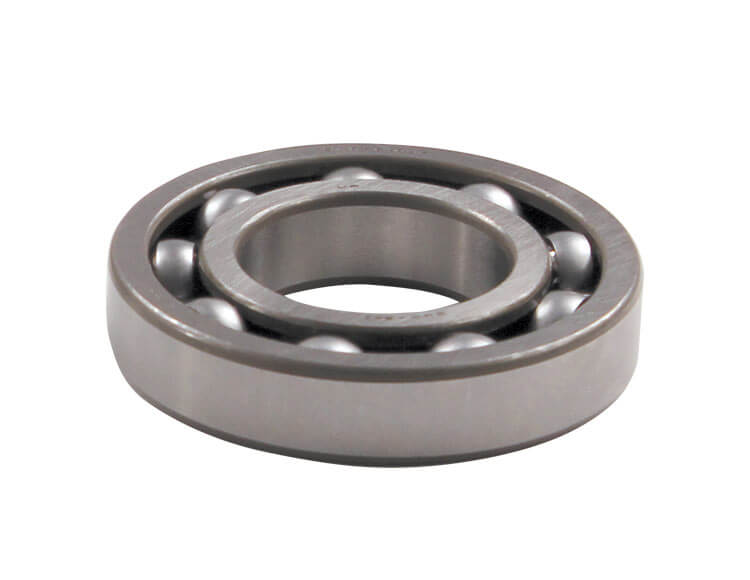
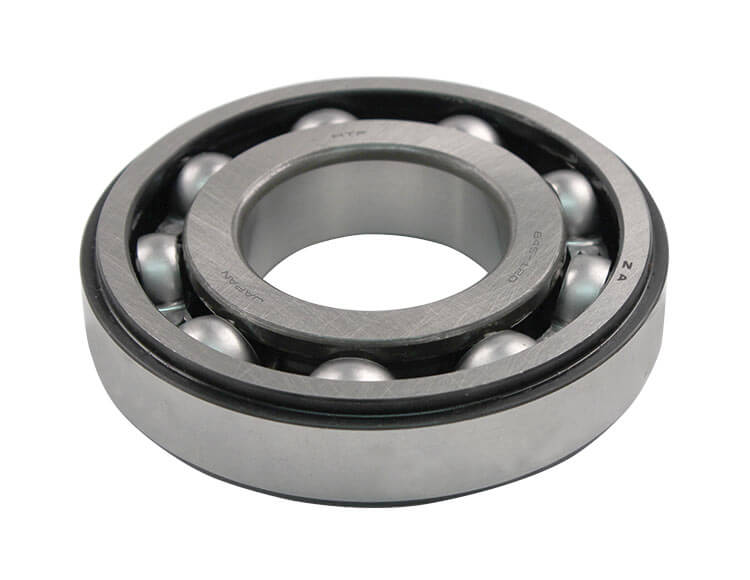
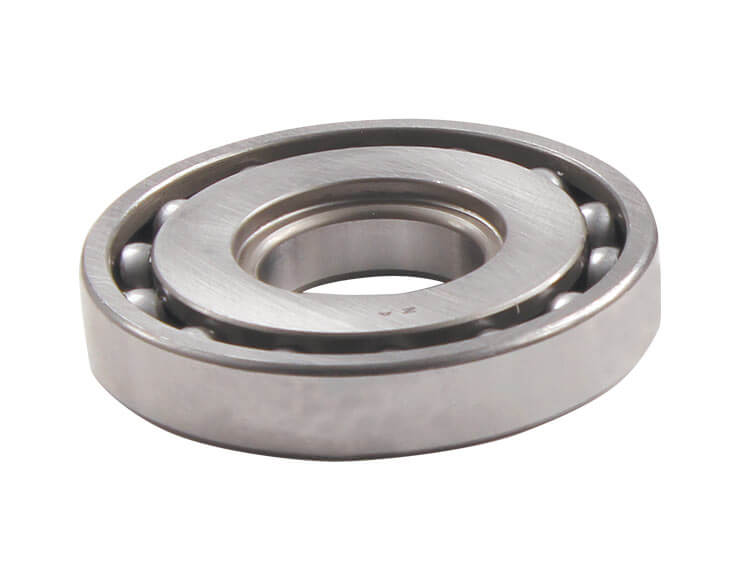
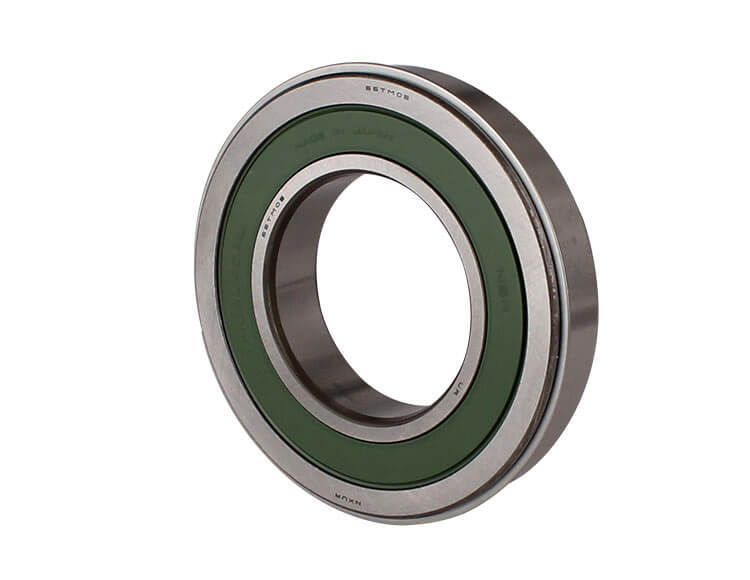
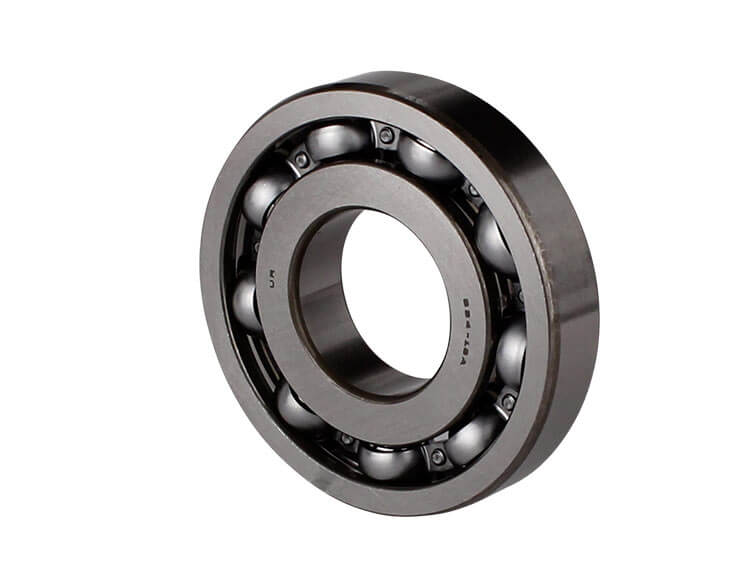
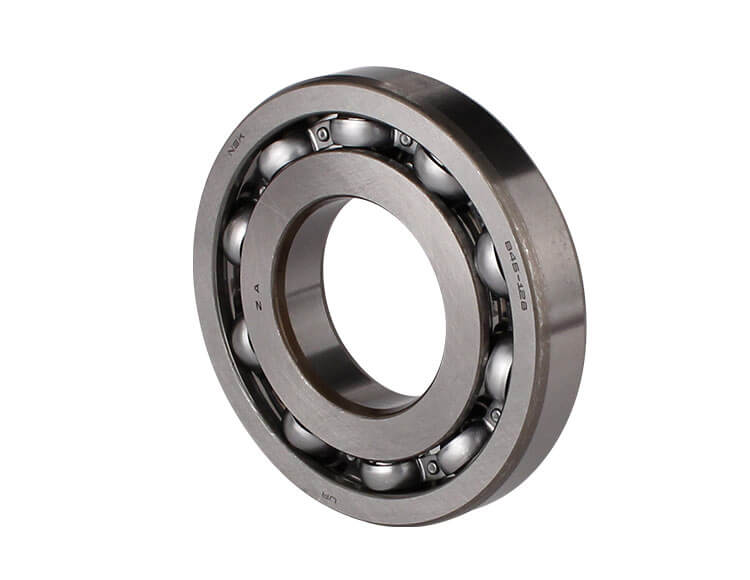
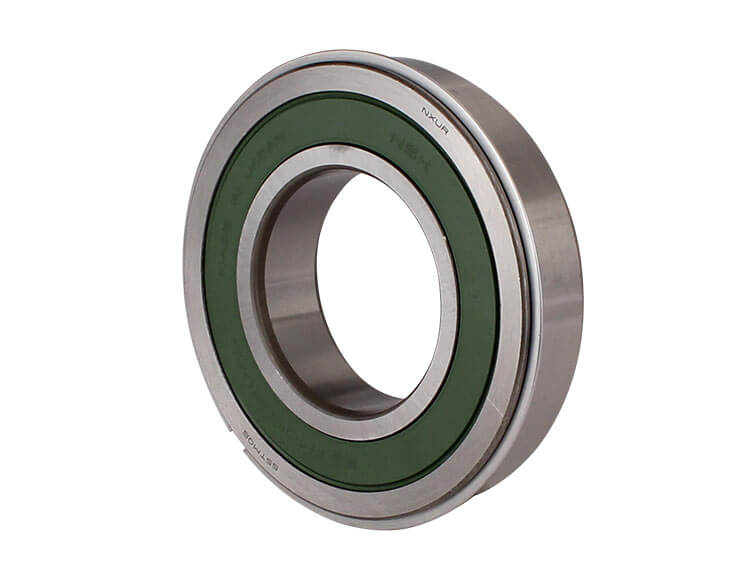
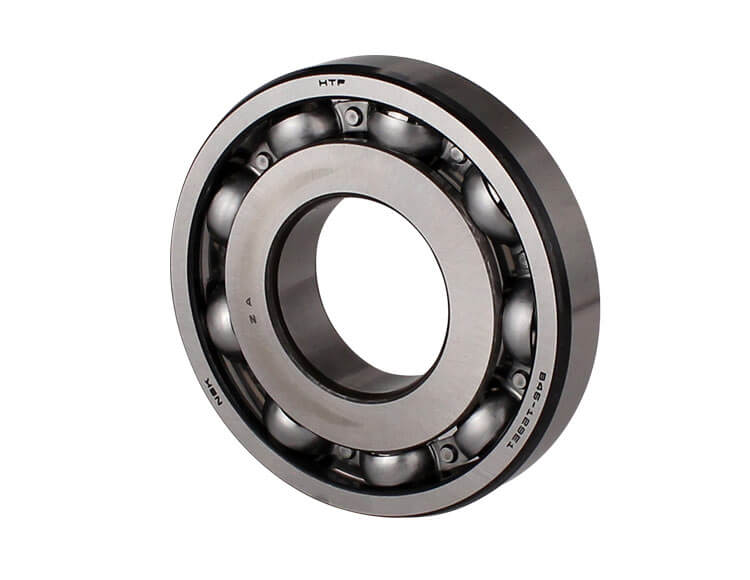
Figures 9 and 10 show the location of the bearings on both the secondary and primary pulley assemblies. There is a primary pulley bearing for the torque converter side and one for the cover side, along with a cover-side secondary pulley bearing. These bearings can be removed with a two-jaw bearing puller or a bearing splitter and puller assembly and pressed back into place with ease. Replacement bearings are readily available in the aftermarket for most CVT units..
| Figure 9 | Figure 10 |
|---|---|
 |  |
Jim Dial is a Sonnax technical specialist.
Related Units
Related Parts
Required
Recommended
JF015E (RE0F11A)
Secondary Pulley Front Bearing 323264-A
Also fits Mitsubishi F1CJB.
-
Helps cure:
- Bearing noise
- Bearing failure
- Push belt slippage
Required
Recommended
JF015E (RE0F11A)
Primary Pulley Front Bearing 323235-C
Fits units paired to engines 1.6L or over only. Also fits Mitsubishi F1CJB.
-
Helps cure:
- Bearing noise
- Bearing failure
- Push belt slippage
Required
Recommended
JF015E (RE0F11A)
Secondary Pulley Rear Bearing 323229-A
Also fits Mitsubishi F1CJB.
-
Helps cure:
- Bearing noise
- Bearing failure
- Push belt slippage
Required
Recommended
JF015E (RE0F11A)
Input/Counter Drive Bearing 323232-A
Also fits Mitsubishi F1CJB
-
Helps cure:
- Bearing noise
- Bearing failure
Required
Recommended
JF011E (RE0F10A)
Primary Pulley Bearing 33236N
Fits torque converter side. Also fits Mitsubishi F1CJA.
-
Helps cure:
- Bearing noise
- Bearing failure
- Push belt slippage
Required
Recommended
JF011E (RE0F10A)
Primary Pulley Bearing 33235N
Fits cover side. Also fits Mitsubishi F1CJA.
-
Helps cure:
- Bearing noise
- Bearing failure
- Push belt slippage
Required
Recommended
JF010E (RE0F09A/RE0F09B)
Secondary Pulley Bearing 33229G
Fits cover side of RE0F09B.
-
Helps cure:
- Bearing noise
- Bearing failure
- Push belt slippage
Required
Recommended
JF010E (RE0F09A/RE0F09B)
Primary Pulley Bearing 33235G
Fits cover side.
-
Helps cure:
- Bearing noise
- Bearing failure
- Push belt slippage
Required
Recommended

JF010E (RE0F09A/RE0F09B)
Secondary Pulley Bearing 33228G
Fits torque converter side.
-
Helps cure:
- Bearing noise
- Bearing failure
- Push belt slippage
Required
Recommended

JF011E (RE0F10A)
Secondary Pulley Bearing 33228N
Fits torque converter side. Also fits Mitsubishi F1CJA.
-
Helps cure:
- Bearing noise
- Bearing failure
- Push belt slippage
Required
Recommended
JF016E (RE0F10D)
Primary Pulley Bearing 333264A
Fits front side.
-
Helps cure:
- Bearing noise
- Bearing failure
- Push belt slippage
Required
Recommended
JF016E (RE0F10D) • JF017E (RE0F10E) • JF019E (RE0F10J)
Primary Pulley Bearing 333235A
Fits rear side.
-
Helps cure:
- Bearing noise
- Bearing failure
- Push belt slippage
Required
Recommended
JF016E (RE0F10D)
Secondary Pulley Bearing 333229A
Fits rear side.
-
Helps cure:
- Bearing noise
- Bearing failure
- Push belt slippage
Required
Recommended
JF017E (RE0F10E) • JF019E (RE0F10J)
Primary Pulley Bearing 343264A
Fits front side.
-
Helps cure:
- Bearing noise
- Bearing failure
- Push belt slippage
Required
Recommended
JF017E (RE0F10E) • JF019E (RE0F10J)
Secondary Pulley Bearing 343229A
Fits rear side.
-
Helps cure:
- Bearing noise
- Bearing failure
- Push belt slippage
While Sonnax makes every effort to ensure the accuracy of technical articles at time of publication, we assume no liability for inaccuracies or for information which may become outdated or obsolete over time.