March 09, 2021
Why Do I Drill the Pump? Preventing Excess 6L80 Series Line Pressure with a Drop-In Sonnax PR Valve
Andrew Jessiman
See how easy it is to make a vise, drill the pump and install a Sonnax PR valve. |
|---|
 |
This content relates to two discontinued Sonnax parts: pressure regulator valve kit 104520-14K and oversized pressure regulator and boost valve kit 104520-07K. These kits required drilling the pump, and Sonnax now offers equally effective repair options that eliminate that extra labor: drop-in kit 104520-15K and oversized kit 104520-16K.
Creating a vise from a plastic tube should make it simple and easy to drill a hole .025"–.060" without breaking drill bits.
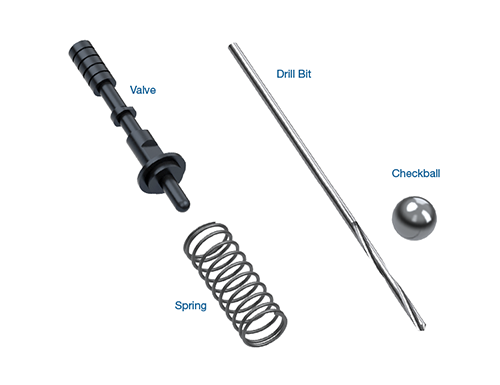
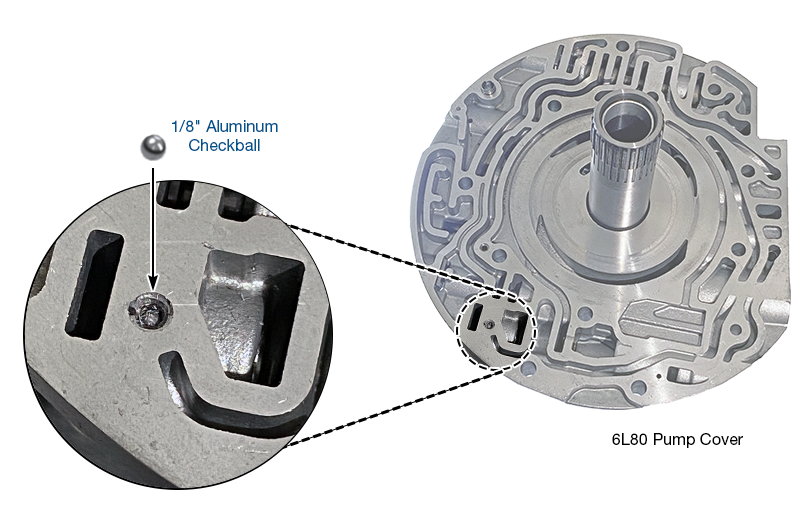
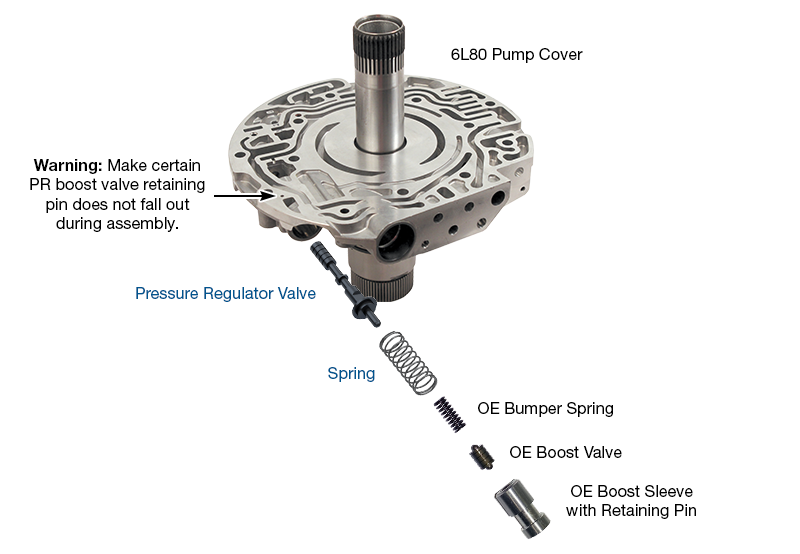
As an example of putting this method to good use, let’s walk through the installation of Sonnax pressure regulator valve kit 104520-14K (Figure 1) for GM 6L45, 6L50, 6L80 and 6L90 transmissions.
Using this kit requires a new balance hole in the pump cover for the pressure regulator valve because of the extended land area of the much-improved Sonnax valve design. Sonnax includes a drill bit in the PR valve kit for this purpose — learn more about why drilling is key.
| Figure 1 – Sonnax Pressure Regulator Valve Kit 104520-14K |
|---|
 |
| Figure 2 – Use Plastic Tube as Drill Bit Vise |
|---|
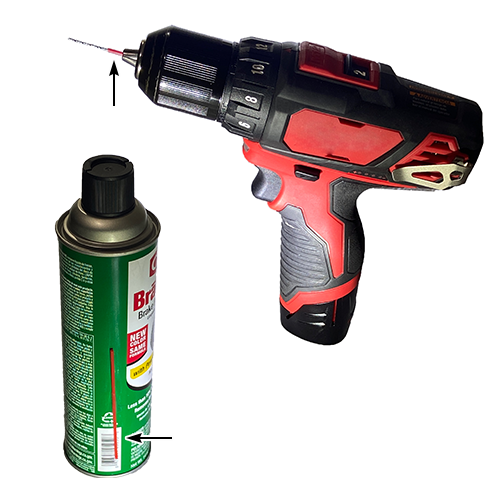 |
Note: The hole size in tubes varies from .035"–045". For small drill bits that are on the larger side, put the drill bit in the bench vise and the tube in the drill motor chuck. Next, slightly drill a hole in the tube by running the drill chuck onto the bit until the tube fits the bit. Tubes come in many different sizes (ex. coffee stirrers), so there may be an exact fit for some larger bits, if needed.
Note: Always follow the complete, step-by-step instructions when installing this kit. Click here to view instructions.
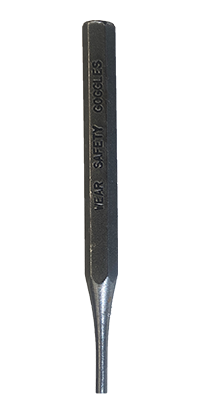
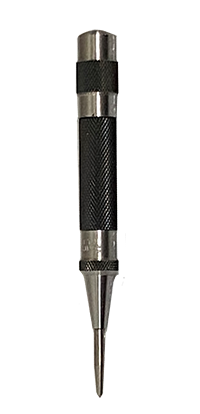
| Figure 3 – 1/8" Punch | Figure 4 – Checkball in Cup Plug |
|---|---|
 |  |
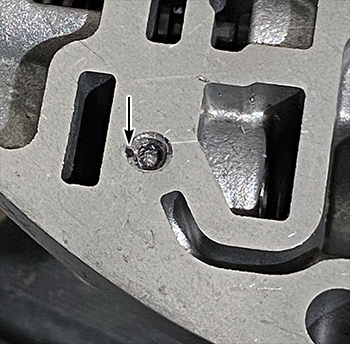
Use a spring-loaded marking punch (Figure 5) to create a pilot area for drill bit stability right below the surface in the cutout above the cup plug (Figure 6).
| Figure 5 –Spring-Loaded Marking Punch | Figure 6 – Pilot Area |
|---|---|
 |  |
| Figure 7 – Drilling at Pilot Area |
|---|
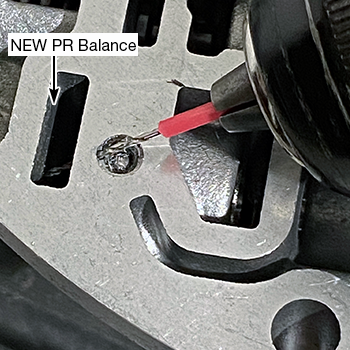 |
| Figure 8 – Installing Pressure Regulator Valve Assembly |
|---|
 |
Congratulations! You have successfully installed the most reliable, stable and durable GM 6L-series drop-in replacement pressure regulator valve assembly in the industry! When complete, install pressure gauge on vehicle and experience how smooth pressure responds with throttle!
March 09, 2021
Andrew Jessiman
March 15, 2022
Jim Mobley
While Sonnax makes every effort to ensure the accuracy of technical articles at time of publication, we assume no liability for inaccuracies or for information which may become outdated or obsolete over time.